From Zero to Production in Azure with Terraform
Posted on Sunday March 13, 2022

Almost two years ago, after learning Azure from the ground up to deliver a system in a very short turnaround time, I decided that talking about it would be best, and submitted a talk to NE-RPC during the start of the pandemic. In this, I walked through what I learned in using Azure with Terraform as a bit of a newbie.
I never wrote any of it down, so I'll digest everything I spoke about (video link below) in a bit more detail, with some more code samples and context.
Setup
To demonstrate Terraform with Azure, we're going to deploy two applications that were built earlier in an example repo, a stateless application that deploys and runs some static resources on a simple web server, and a more fully-featured stateful example that includes a relational database, a Kubernetes cluster and some resiliency.
The code we're going to use is available here: https://github.com/jamiefdhurst/azure-terraform-examples so take a look at this on GitHub beforehand.
Azure Portal and Free Account
Microsoft are kind enough to allow you to sign up for Azure for free with some credit, $200 worth to be exact. More than enough for us to play around with today. You'll need to put in your credit card, but otherwise it's a very easy and simple setup process. Head here to get started: https://azure.microsoft.com/en-gb/free/
Once you're in, you should be able to see your empty but ready Azure Portal:
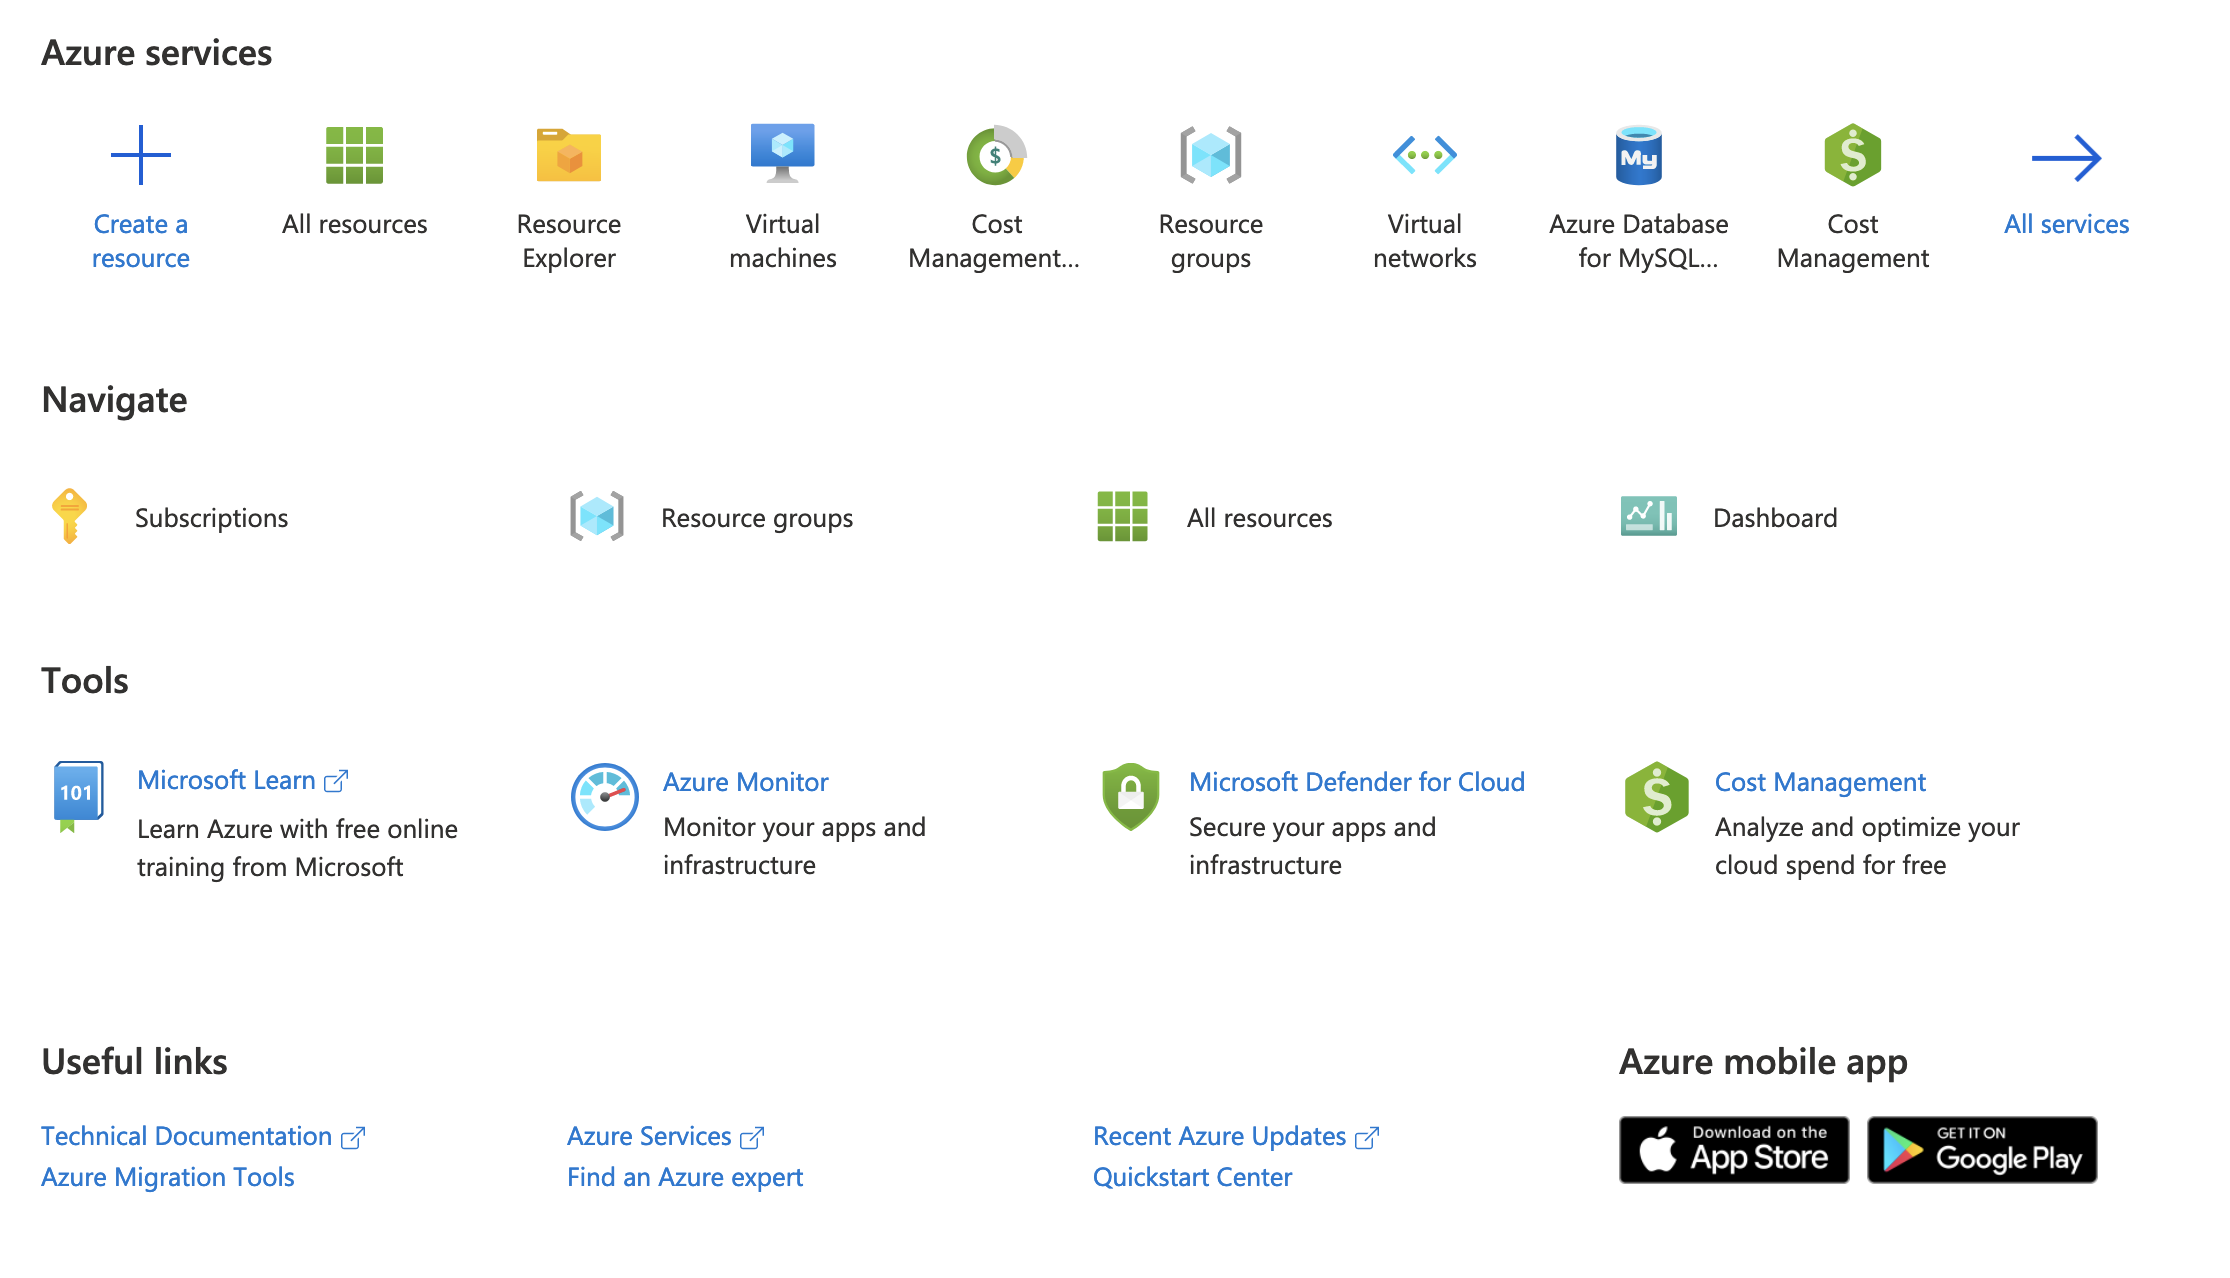
You're invited to head in and create stuff, and naturally Azure's Portal is very well featured - allowing you to create virtual machines and other cloud resources very easily using the "blades" such as in the example below:
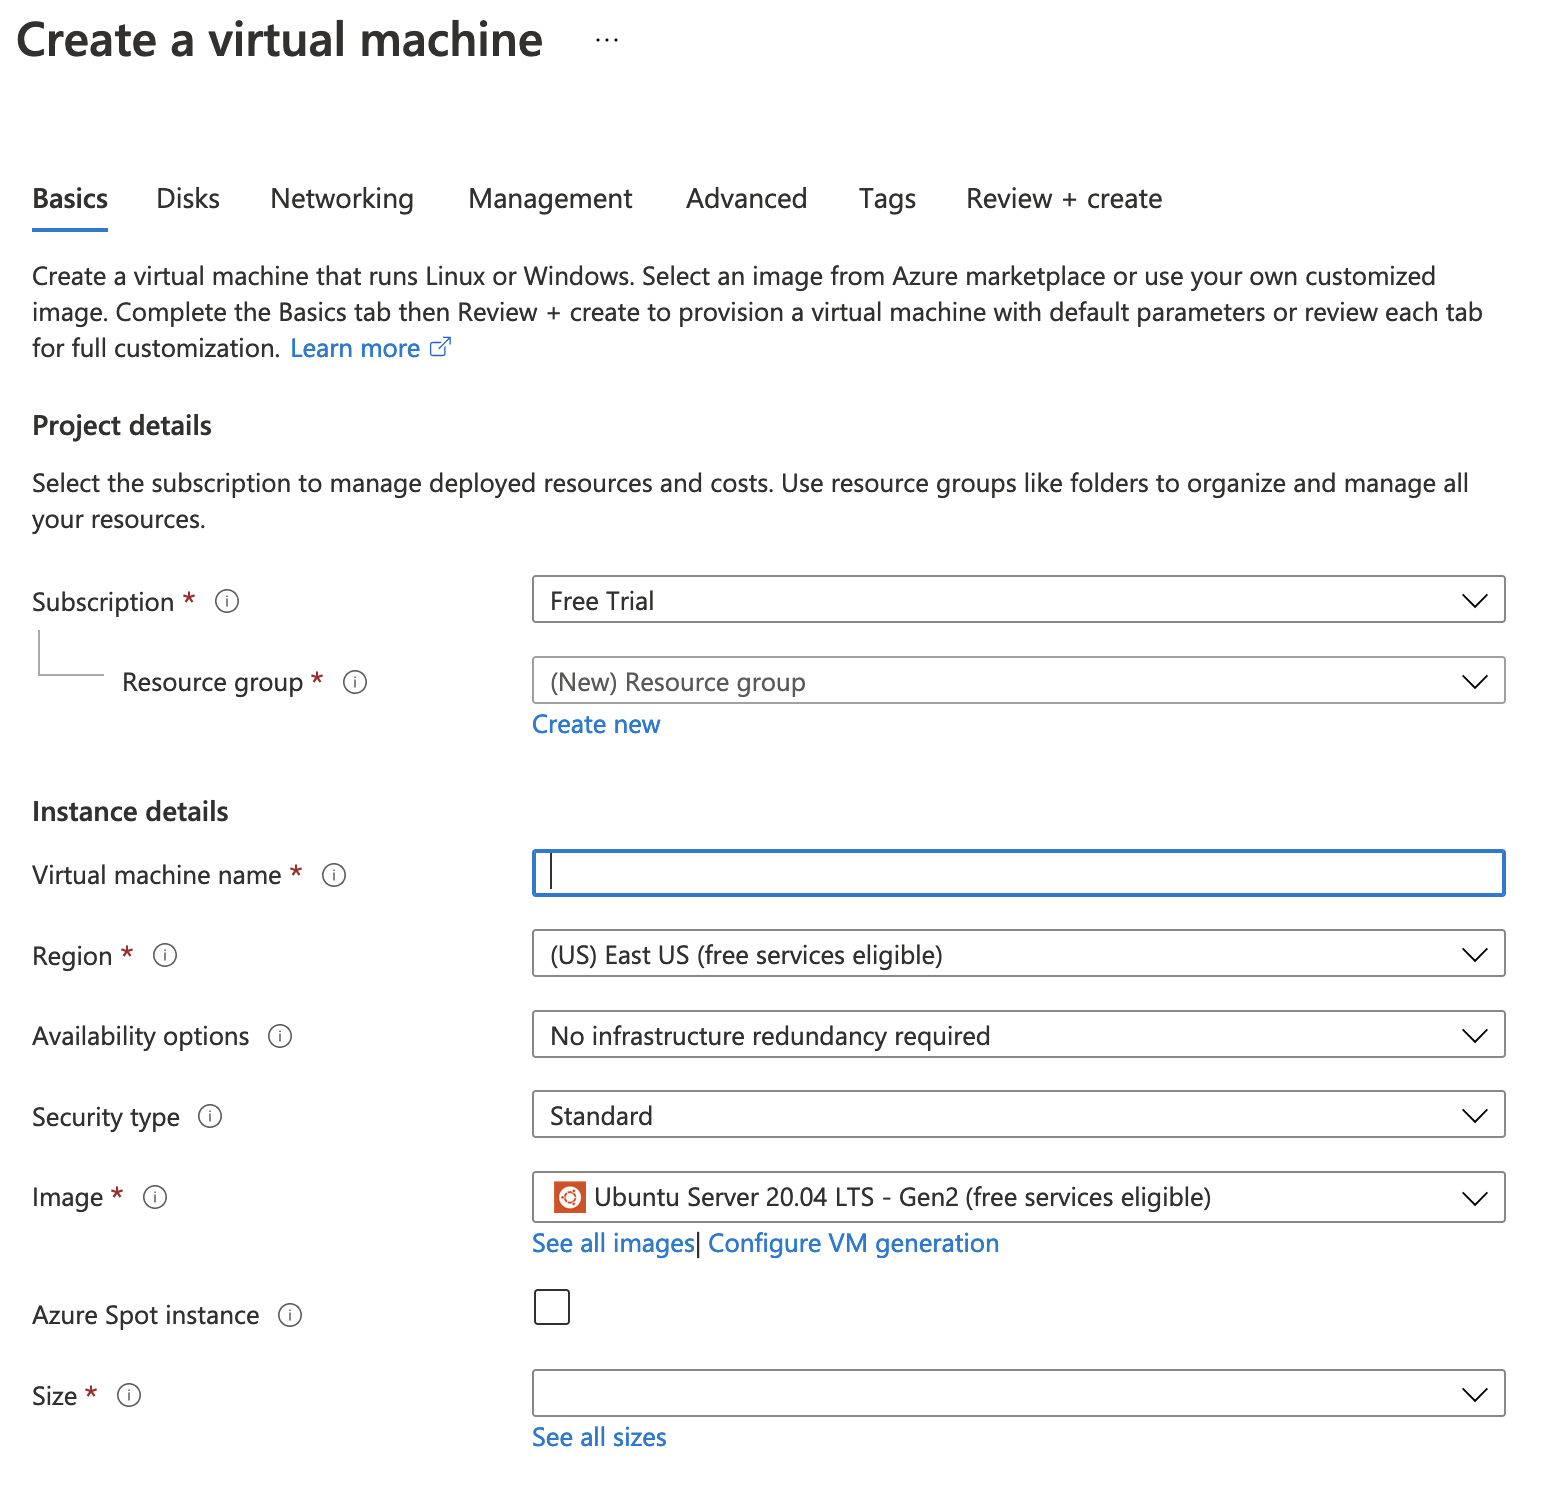
But this isn't much fun. We want to be able to automate our infrastructure and deploy in a repeatable pattern, not using a UI. To do this easily in Azure, we're going to take advantage of their Cloud Shell. Click the little icon in the top bar that represents a shell to get started. Choose to create a Cloud Shell using Bash as on the following screen, and you should be presented with your terminal:
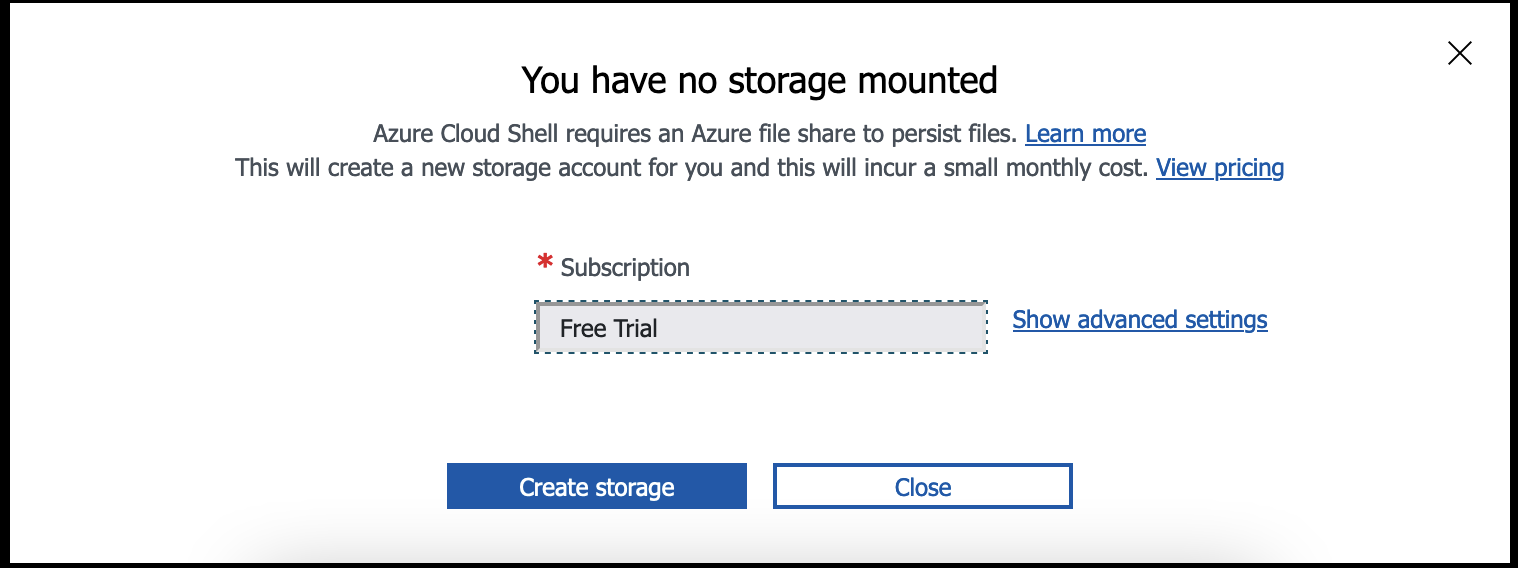
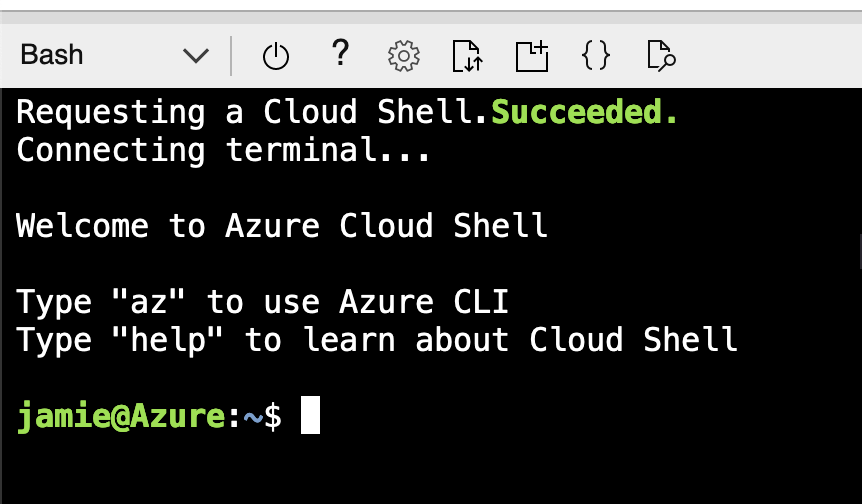
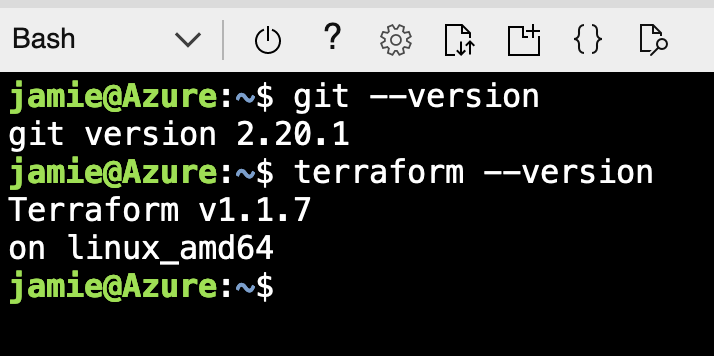
Now we have access to tools such as Git and Terraform, easily within the shell:
Building and Deploying a Stateless App
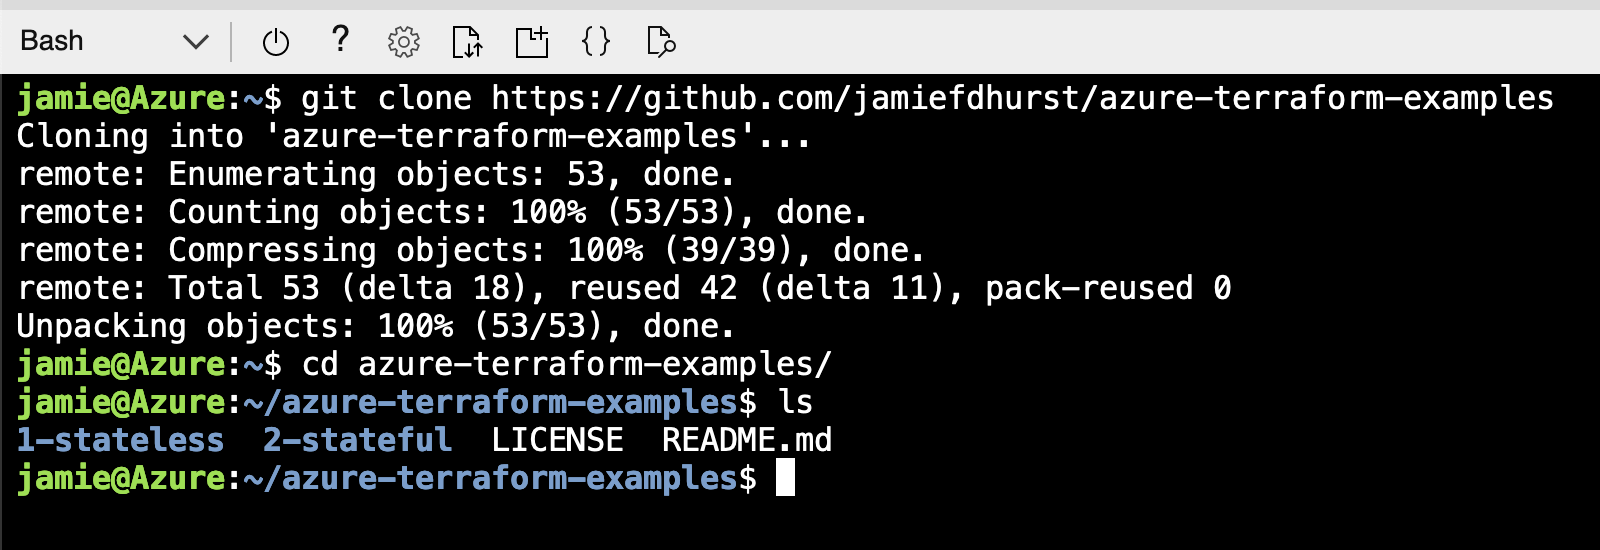
Time to get started - let's clone down the code first of all:
git clone https://github.com/jamiefdhurst/azure-terraform-examples
cd azure-terraform-examples
ls
In the stateless app folder, we can see the variables that we can configure by looking in the variables file:
cd 1-stateless
cat variables.tf
The stateless example breaks everything down as much as possible to ensure you can see what effect the variables have within the Terraform code, but to put it simply, we can:
- Set up a resource group and a resource name prefix
- Change the virtual machine hostname
- Define the VM size and version of Ubuntu to install
- Set a username and password for the VM
Let's create a new tfvars file and change the name to something a little different:
touch terraform.tfvars
nano terraform.tfvars
Pop this code into the file:
resource_group = "unique-stateless-resource-group"
prefix = "unique-stateless"
hostname = "unique-stateless"
virtual_network_name = "unique-stateless-vnet"
And save it using Ctrl+O and Ctrl+X. Now we're ready to run Terraform!
The first step is to initialise Terraform, where it downloads the providers and gets ready to run:
terraform init
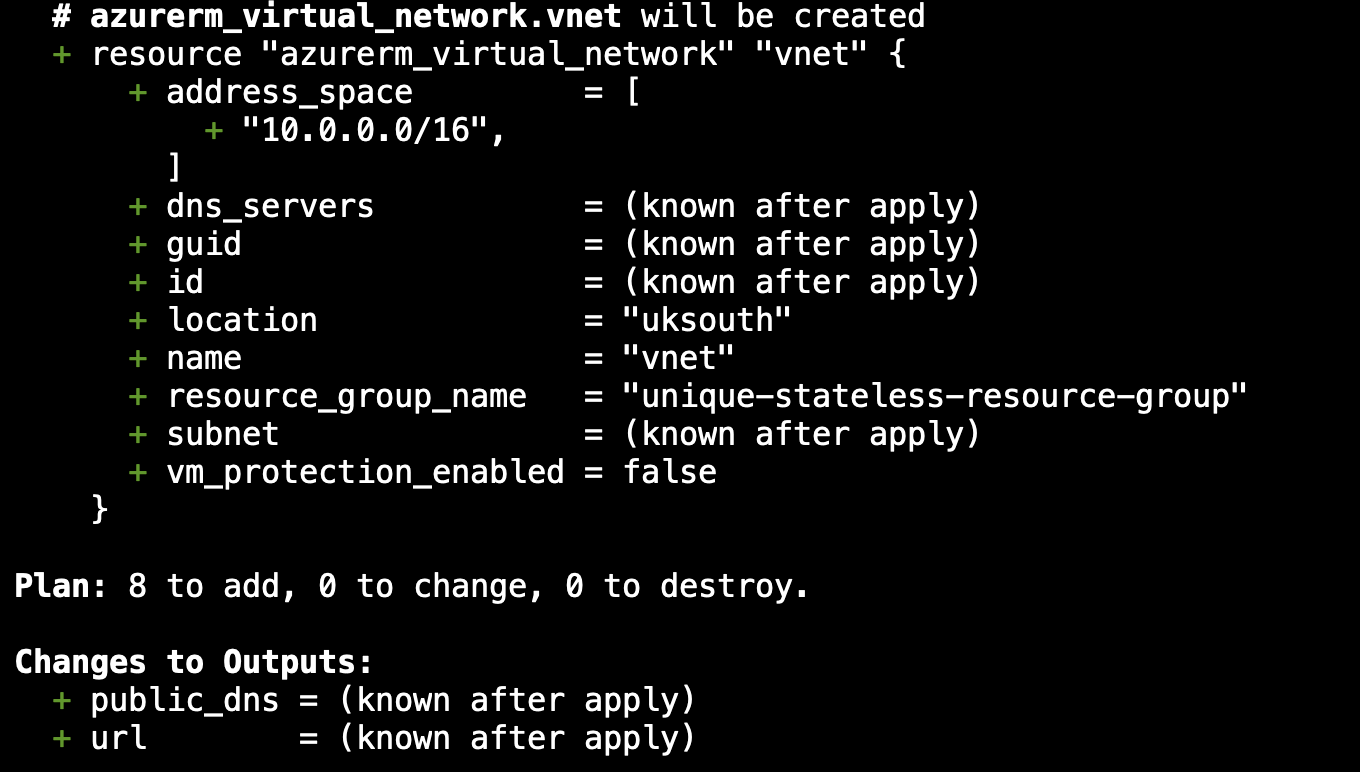
Next, you can run a plan to show what the result of your infrastructure changes will be:
terraform plan
This shows a variety of resources will be created:
Nothing more to stop us, let's run apply and create the infrastructure!
terraform apply
After around 2 minutes, Terraform will complete and show you some output, including some defined variables:
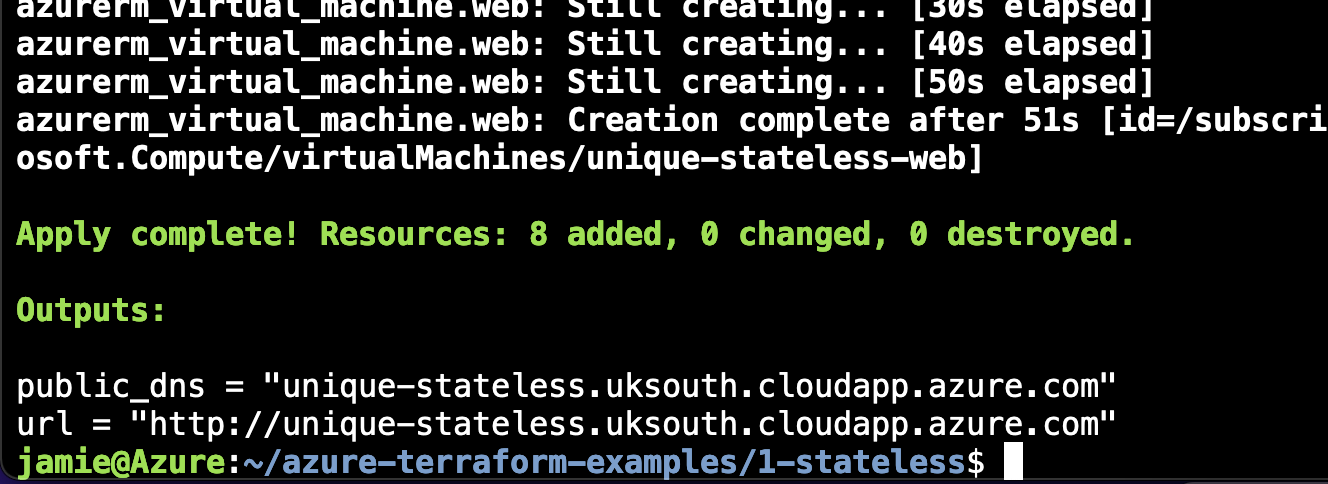
You can now hit that URL to see your app:
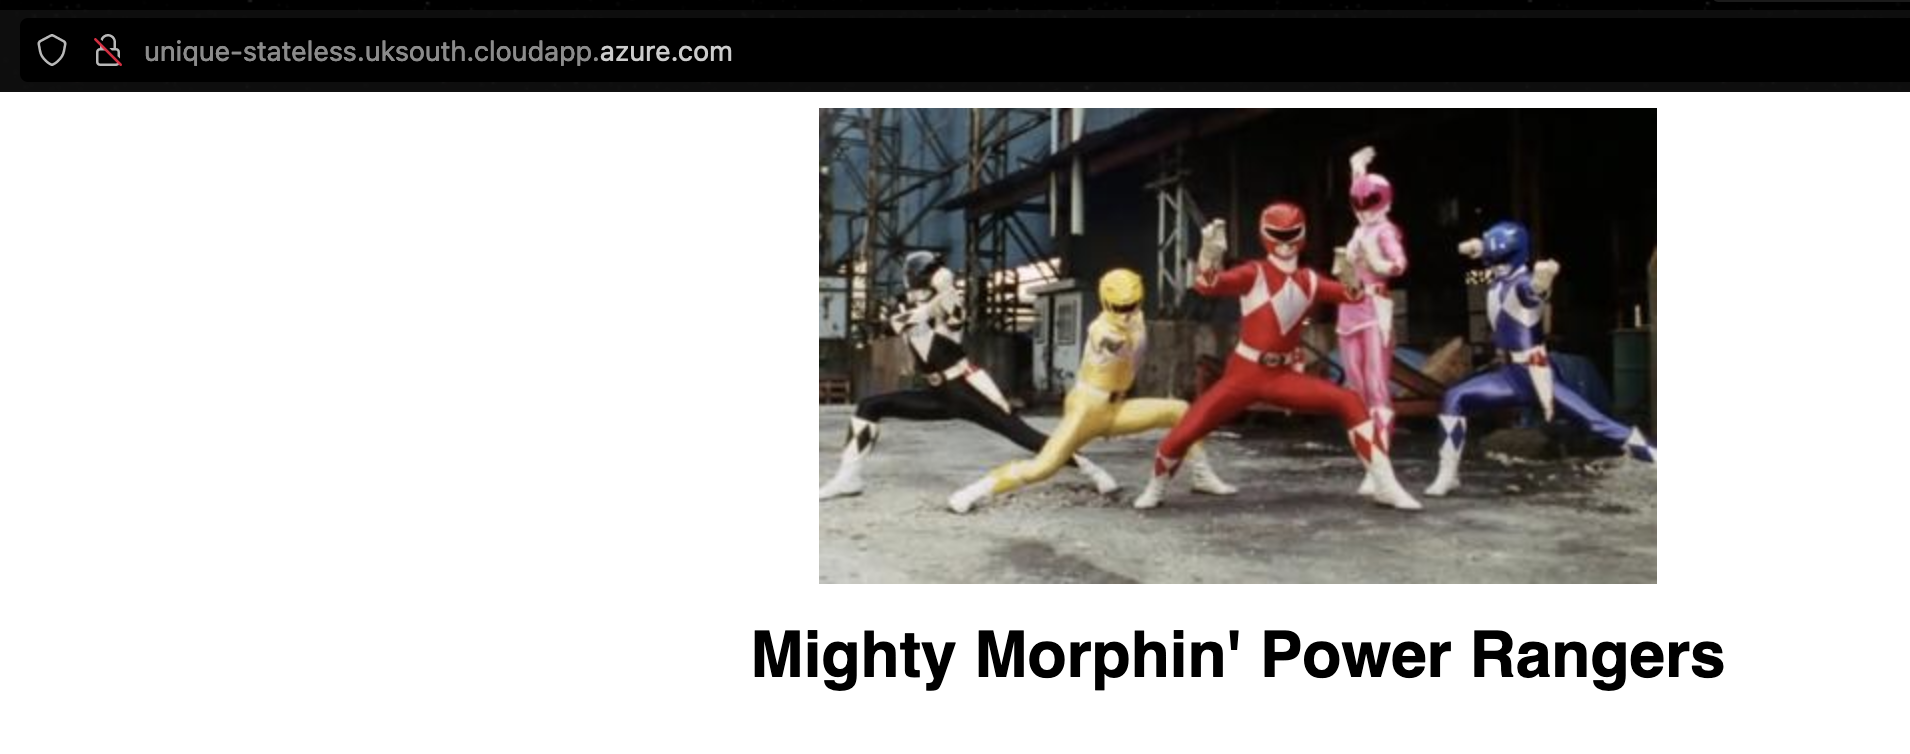
And, you can head into the Azure Portal to see your newly created resources through the resource group:

Terraform's State
There will be a new file if you check your folder with ls: terraform.tfstate. Terraform has recorded the current
state of your infrastructure so that if anything changes in your terraform files, it can apply the necessary changes
only and not impact anything else. If you try and run terraform apply again right now, you'll see a result like this:

If you make any changes, only those changes will be applied.
Now, we've tried a very basic stateless application, and we don't need it anymore. Let's tear everything down so you can see how to return your state back to zero. Use the following command:
terraform destroy
And you'll end up with an empty Azure account again!
Even More Infrastructure
The stateful application is our next goal - this is using Kubernetes and a relational database to build something a bit more fully-featured. Head into the folder and we can try this out:
cd ../2-stateful
In the same way, let's create a terraform.tfvars file as before and configure some elements:
resource_group = "power-rangers-rg"
prefix = "power-rangers"
hostname = "power-rangers"
virtual_network_name = "power-rangers-vnet"
Once again, run your terraform init and terraform apply - this time it will take a little longer but you'll end up
with some output as follows:

Once again, you can hit your application using the URL. The main difference this time is you can make changes and they will be saved in the database!
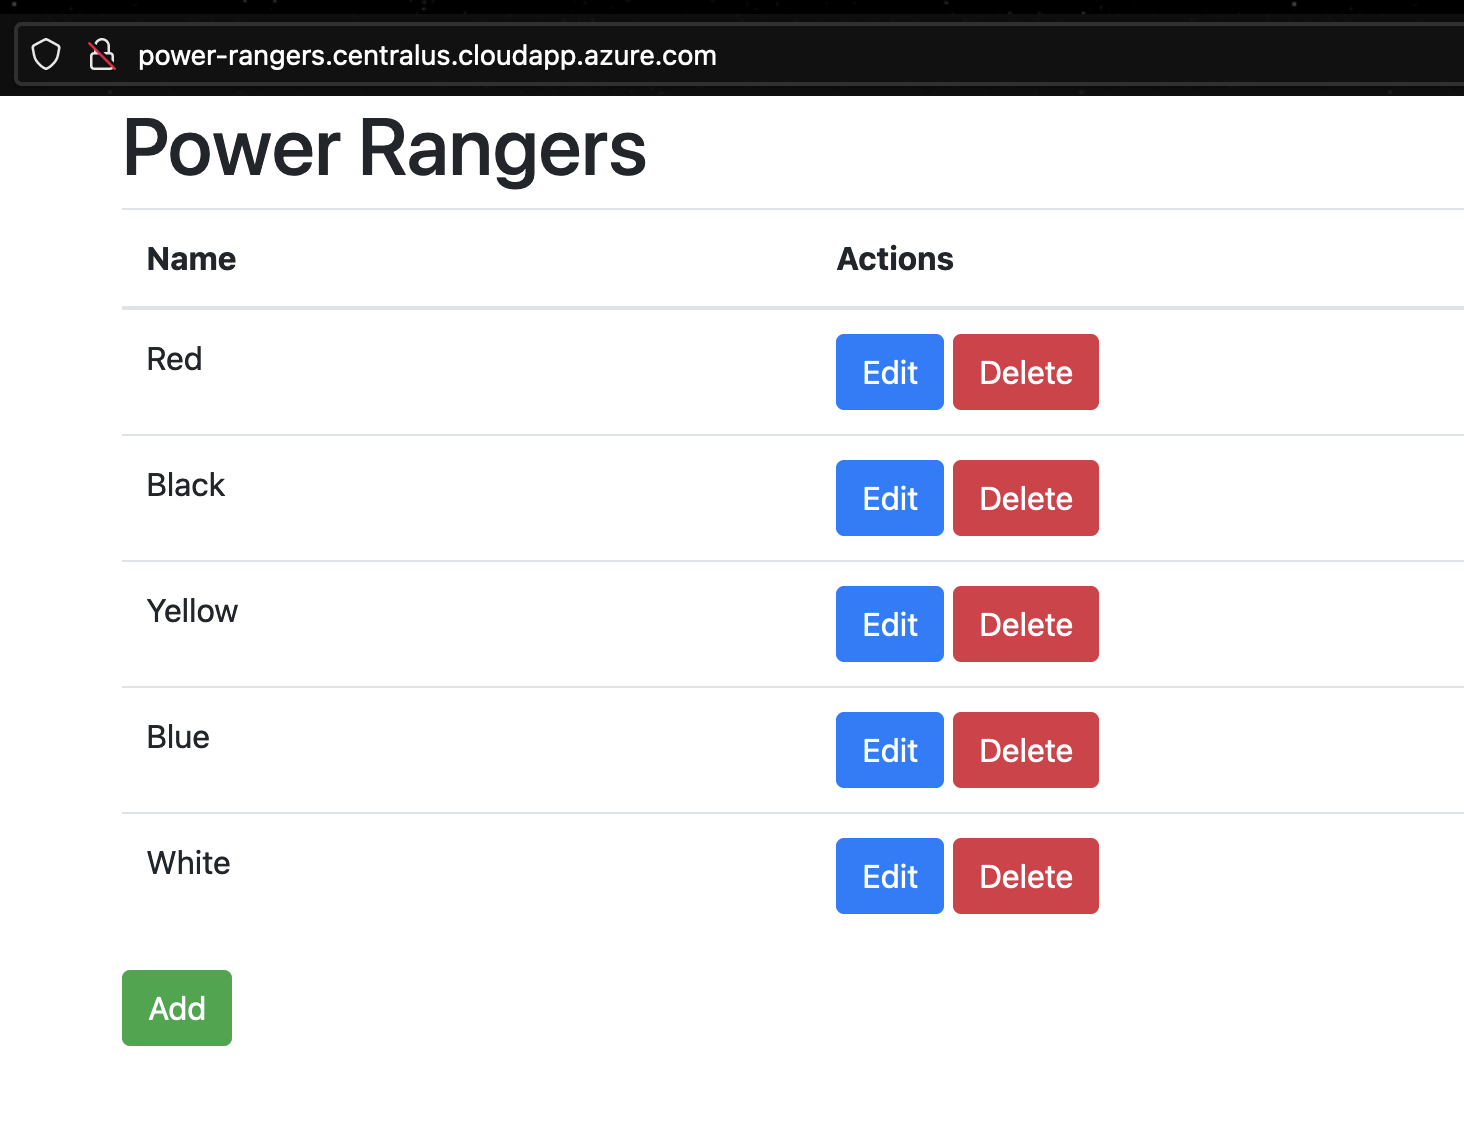
Underneath all of this, you have an Azure Kubernetes cluster running:
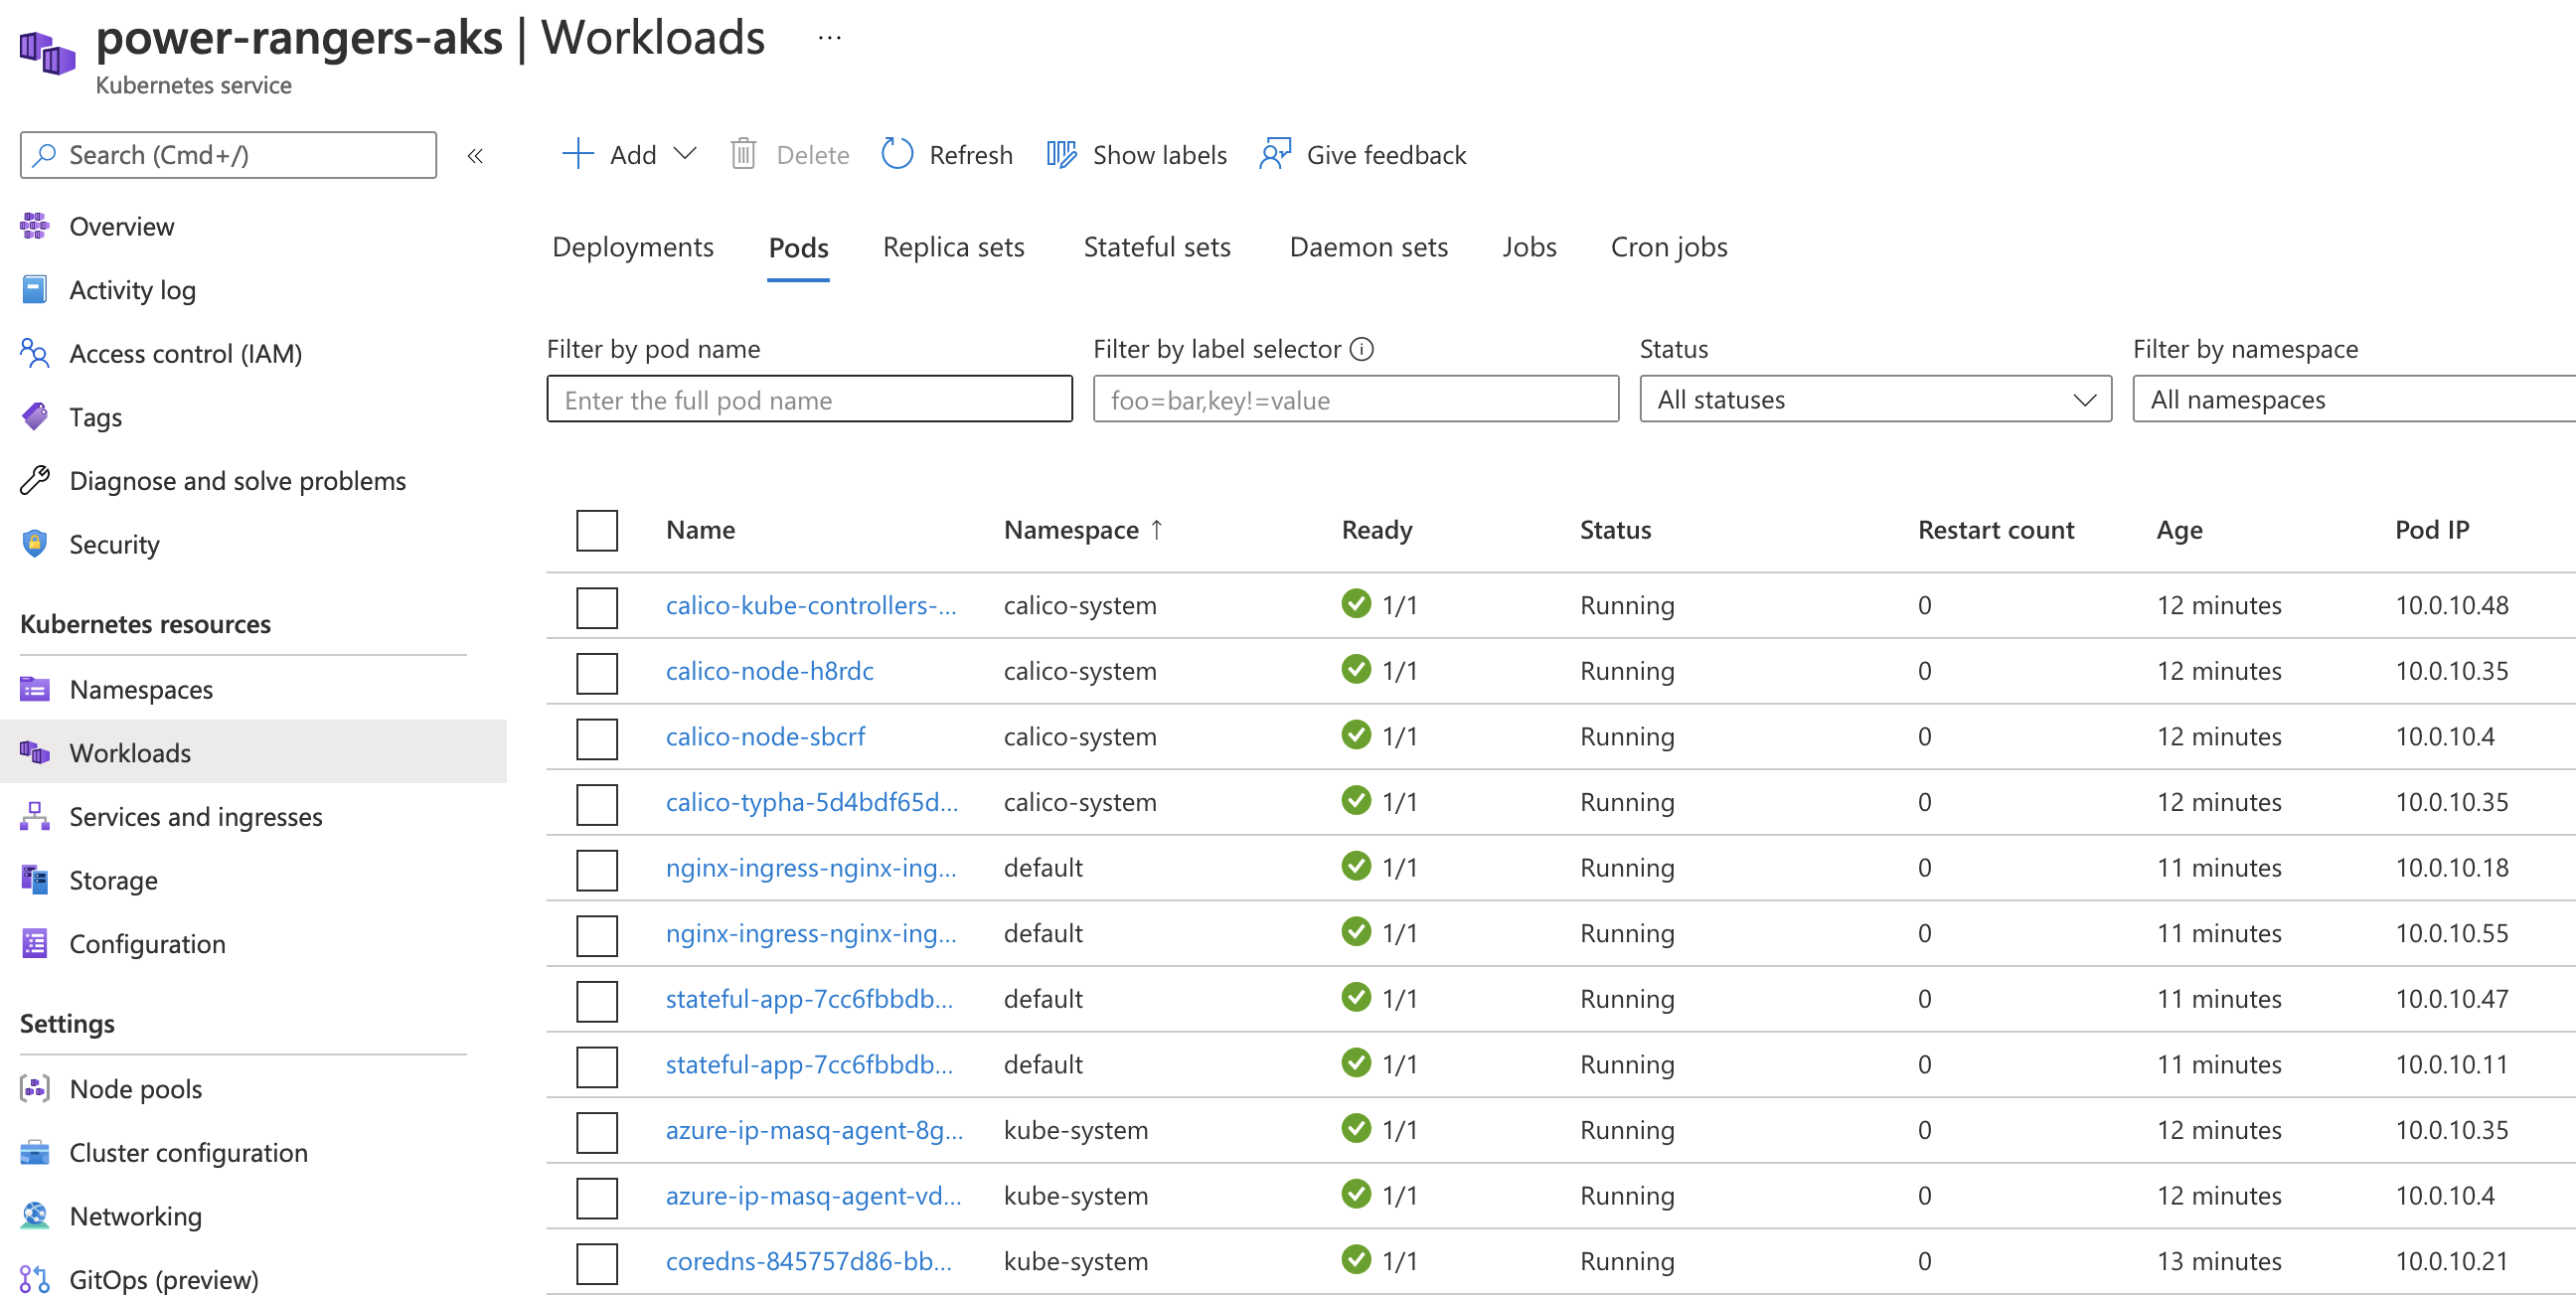
To access this from your Cloud Shell, you can get the credentials and use the kubectl command, such as this:
az aks get-credentials -g power-rangers-rg -n power-rangers-aks
kubectl get pods
From here, you have your own Kubernetes cluster and can deploy anything you want into it!
